Resources and Photo's
Tuff Turf Artificial Grass Installation
Step 1
Measure out the size of the area you want to replace. Calculate this in square feet, remember the rolls are 13 ft wide (they can easily be seemed on the long edges). We like to calculate 5-10% extra depending on the complexity of the install.
Step 2
Plan out and position the strips / rolls so that you have a minimum number of joints. Allow some extra lawn length for
a small amount of wastage depending on the design of your garden and how the rolls are laid.
Our rolls are 13.1ft wide x 82ft long and seeming is easiest on the long edges. You can seem but joints but this is much more difficult.
Step 3
Order the amount of grass, fixings, accessories and tools you require someone at Tuff Turf will be happy to help you with your order. We can calculate the infill, spikes, seam tape, and adhesive for you.
Tools
You will need: a very sharp carpet or utility knife, sharp heavy duty scissors for trimming, yellow or white marking crayons (yellow pencil crayons work great), small screw driver, tape measure, long straight edge, drop spreader if infill is required, and putty knife for spreading joint compound.
We’re here to guide you every step of the way and make sure your lawn looks great. Get in touch with us and we’ll be happy answer your questions and help you to a perfect installation.
Fitting guide
At Tuff Turf, we supply the highest quality, artificial grass at the lowest prices available today. So contact us now and you can transform your garden quickly and easily. We also have certified installers if required.
We won’t be beaten on price!
Laying on soil or sand base
Preparation
For best results you should lay your turf on a 2 inch layer of compacted screenings. To maintain levels it may be necessary to remove an equivalent amount of the top soil. It is un-wise to leave vegetable material under your new grass as this will rot down unevenly. The ground or sand should be compacted. For smaller areas you can do this with the back of a shovel or builders plank, or for larger areas use a vibrating plate compactor which can be hired at most equipment hire centers.
Acclimatizing
Lay the artificial grass, Allow approximately 3-4 inches of artificial grass to trim off to make that perfect edge. It’s a good idea to leave the grass for 20-30 minutes in the head to make it easier to work with. This helps to stop any creasing or wrinkling. If a driveway is nearby we prefer to roll the turf out on the driveway and cut it to rough size there, this allows it to warm up and it is easier to carry smaller pieces into the installation area.
Joining
For our joints we prefer to use heavy duty seaming fabric and adhesive, some installers will use a type of seam tape with adhesive on it but the seams are never as strong as doing it our way. When joining you will see stiches on the back of the grass, on one piece of your joint cut close to the stitching and on the other price leave the ¼” of fabric, this will ensure you have proper spacing when seaming. First lay down the two pieces, bring them together and adjust the seam with the spikes until the spacing is perfect. Put a row of spikes in 12” from the seam, inspect the seam again and make adjustments if necessary. Peel the turf back and use a few spikes to hold it back on each side. Lay the joining tape on the seam and then spike it down so it will not move. Spread the adhesive on each of the prices 4-6” wide. When completed start at one end and start bringing the pieces together, as you seam use a small screw driver to pull the fibers out of the seam. As you work the seam from one end to the other install spikes every 12” about 1-2” in from the seam, you can use the spikes to pry the grass closer together or further apart as you work down the seam.
Trimming
Cut and trim your artificial grass, using a sharp craft knife, making sure there are no gaps between walls and grass. Always use sharp blades and change the blade regularly. The grass sometimes has a material trim to one edge this is just from production and needs to be removed before laying, it is not for joining the edge, and you will need to use joining tape and adhesive for all joints. Be sure your knife is sharp and it is always easier to cut from the back. Use your yellow pencil crayon to mark, about 1/8” clearance is usually a perfect fit.
Fixing / Spiking
Use our spikes, nailed into the ground every 12-14” to secure the perimeter. Be sure that you do not over drive them into the turf this will create indents. As the spike gets into the thatch use a small screw driver to pull the fibers out from under the head before you due the final taps to secure it. Fluff the grass around the head and the head should vanish.
Infill
We prefer to use infill for the majority of our installs, we use 1-1.5 lbs / ft^2 for our installs. A simple drop spreader works great. It will usually take 1-2 passes to get the right loading, then we use a stiff bristle brush to brush the infill in and stand the blades of the grass up. If you have access to a power broom it makes this task rather easy.
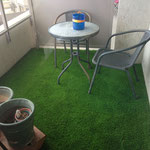
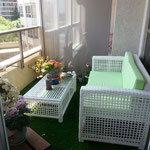
Laying on decking or for temporary use
Loose lay
Lay the artificial grass out and trim to size. It will stay flat under its own weight. Garden furniture or planters can be used to hold it down in areas that are exposed to strong winds. Infill may be used if necessary.
Adhesive Fix
Use our adhesive to stick it to any smooth surface.
Mechanical Fix
Use a staple gun or tack/nail to fix directly to the wood.
To lay on concrete or a patio base
Preparation
Be sure that the surface to be covered is clean and smooth. A self-leveling compound may be required to remove surface imperfections that may show through to the top surface especially on thinner pile height products.
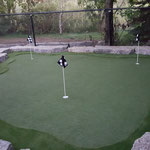
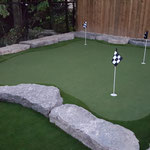
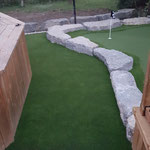
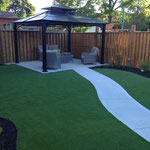
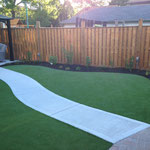
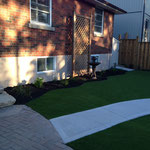
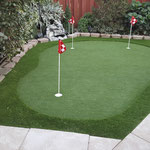
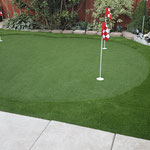
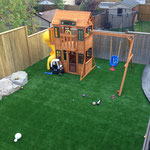
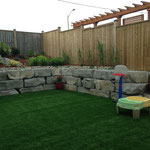
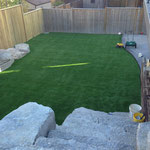
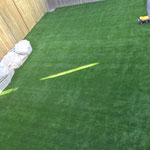
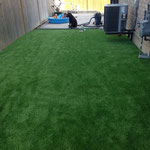
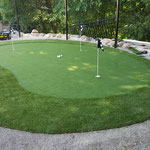
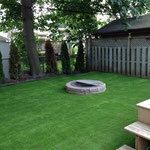
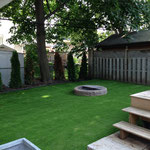
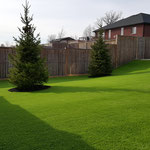
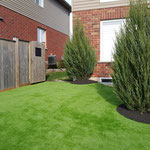
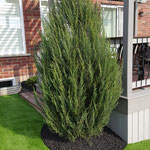
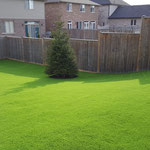
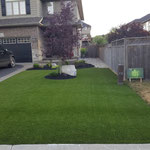
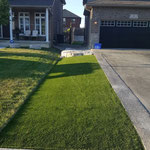
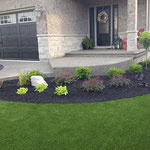
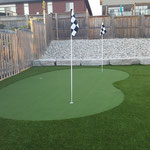
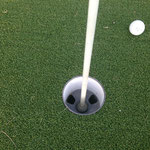
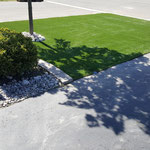
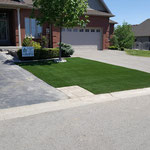
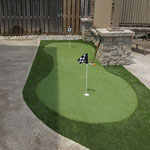
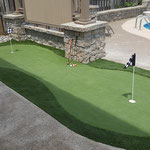
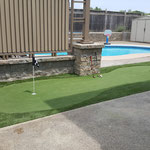
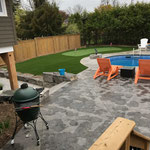
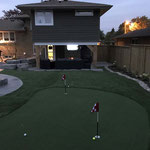
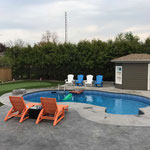
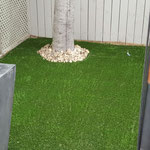
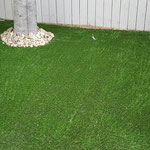
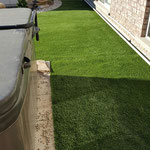
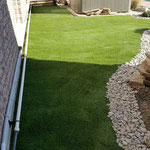
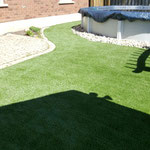
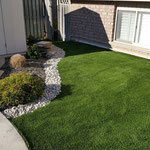
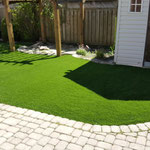
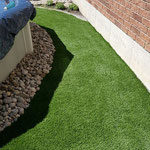
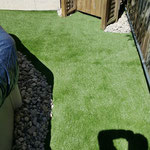
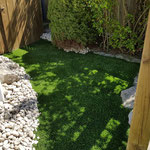
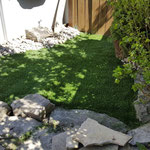
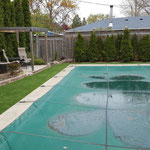
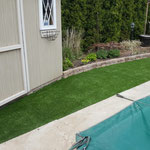
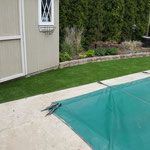
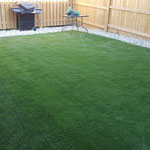
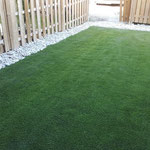
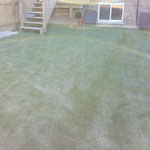
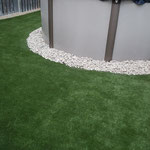
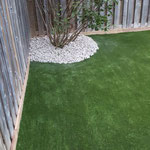
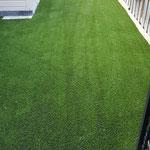
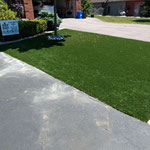
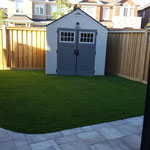
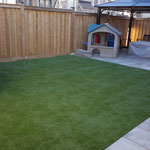
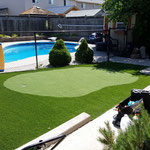
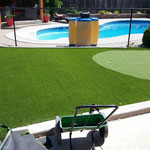
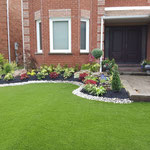
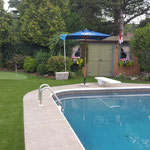
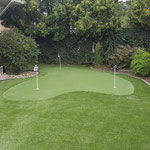
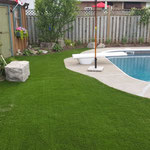
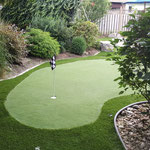
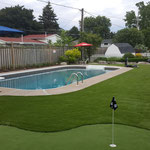
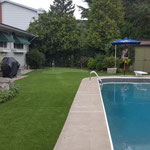
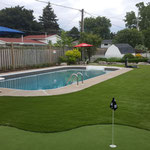
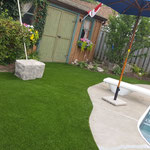
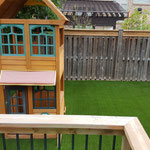
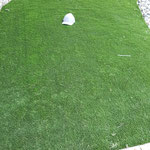
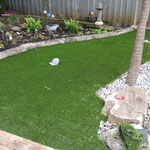
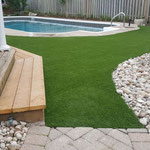
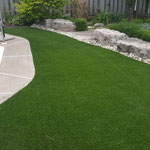
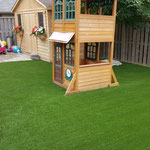
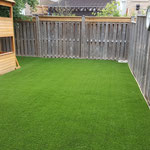
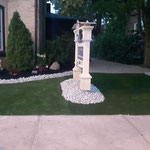
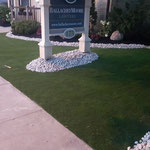
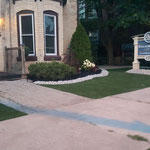
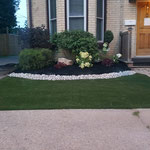
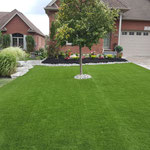
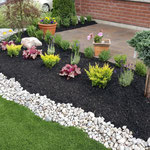
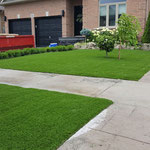
Synthetic Turf Installation Photo's